Build a sponge gradient by controlling the transition area
A gradient changes gradually between colours rather than dividing them with a hard line. With conventional lacquer, a sponge can build a soft transition in light applications. Practise the overlap on a swatch, keep the colours legible and avoid trying to create the entire effect with one heavily loaded press.
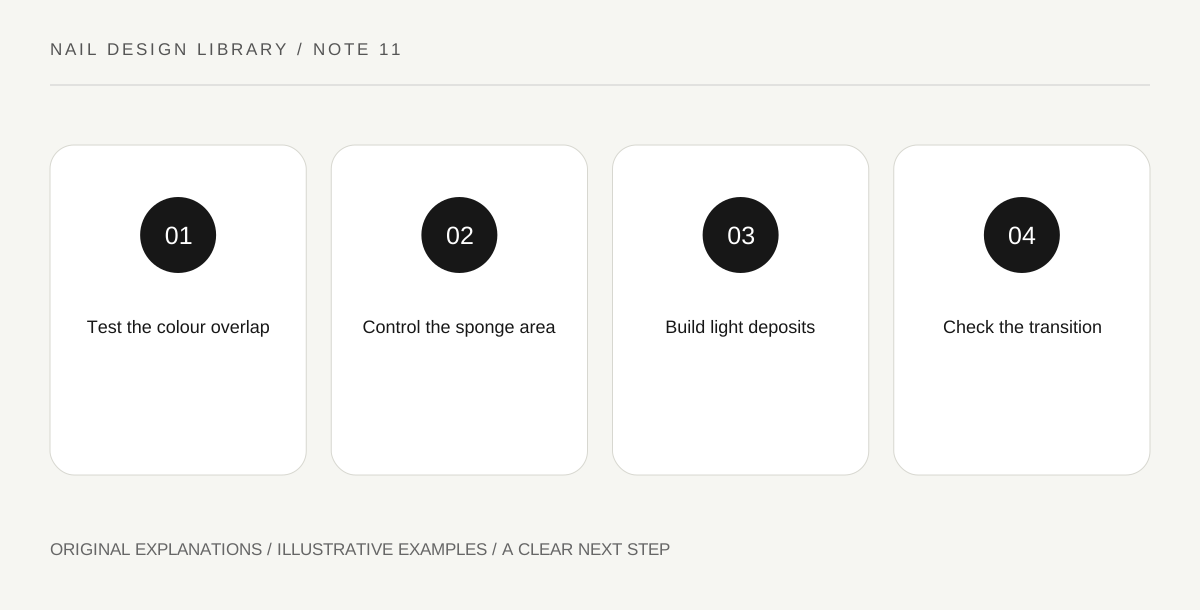
Original explanatory diagram. Read the full method and limitations below.
Choose colours that can share a middle
Two colours may create an appealing intermediate area or a muddier mixture than expected. Test the actual polishes together on a practice surface. Bottle colours and names do not establish how transparent layers will combine, especially when one shade contains shimmer or has different coverage.
Start with two colours before adding a third. Decide which should dominate the base and where the transition should occur. A tip-to-base fade and a side-to-side fade create different compositions. Choose one route so the experiment teaches you about overlap rather than several changing variables at once.
Prepare a small controlled sponge area
Use a suitable clean cosmetic sponge and follow the polishes’ instructions. Keep the working area small enough that you can control placement on the practice swatch. A large saturated surface may deposit polish outside the intended area and make the transition difficult to judge.
Do not introduce unrelated household solvents or improvised mixtures to change the lacquer. This lesson uses conventional cosmetic products as labelled. Keep the actual nail application on the nail surface and use the product’s appropriate cleanup guidance if needed rather than treat surrounding skin as part of the design.
Build the fade with light contact
Over a compatible base ready for the technique, apply the second colour lightly, concentrating it where you want the strongest field and reducing contact toward the transition. The goal is a series of small deposits that merge visually, not a thick block pressed into place.
Pause between stages as the products require and inspect the swatch. If the boundary remains harsh, adjust the overlap or loading on another attempt. Repeated heavy pressing can obscure both colours and add texture. A gradual effect usually benefits from patient control rather than immediate full coverage.
Judge the transition before finishing
Look for three readable areas: the first colour, the transition and the second colour. They need not occupy equal space. If the middle consumes the whole surface, the design may become a new blended colour instead of a gradient. That can be another choice, but it is not the contrast being practised.
For an exercise, compare a narrow and wide transition using the same pair. View them from ordinary distance and note which reads more clearly. Test a compatible finishing layer on the swatch according to its directions; do not assume it will erase every sponge texture or rescue an overly thick application.
Illustrative fade comparison
A learner uses pale blue and deeper blue. One swatch receives a heavily loaded sponge press and becomes mostly dark. The next builds the dark area lightly near the tip, leaving a broad pale field and a visible transition. They prefer the second and record the overlap width rather than claim a universal number of presses will work with every polish.
Practical checks
Optional checkboxes save only in this browser.
Questions that come up
Do all colour pairs blend attractively?
No. Opacity, hue and finish affect the middle area. Test the actual pair on a swatch and decide whether you enjoy the result before repeating it.
Can top coat fix any rough gradient?
No. A compatible finish may change the surface appearance, but it does not guarantee correction of a thick or uneven application. Practise the deposition process first and follow the products’ directions.
References and scope
These sources support the factual background. Examples and exercises are original illustrative teaching material. References do not imply endorsement.
- FDA: Nail care products — Cosmetic scope, following labels and warnings, ventilation, ignition risks and reactions.
- Essie: Mastering nail art — Conventional polish tools, controlled dots, stripes, sponge gradients and compatible finishing.
- Essie: Beginner nail art — Using regular nail polish, allowing layers to dry and adapting beginner designs.
- Getty Museum: Principles of design — Spacing, repetition, emphasis and visual rhythm in original miniature compositions.
- Getty Museum: Elements of art — Line, shape, colour value and negative space.