Paint an abstract wave by controlling width and direction
A wave line can feel calm, energetic or graphic depending on its route and thickness. It does not need to imitate water literally. Plan one curve, practise its turns and decide whether a second line supports it before filling the surface with repeated swirls.
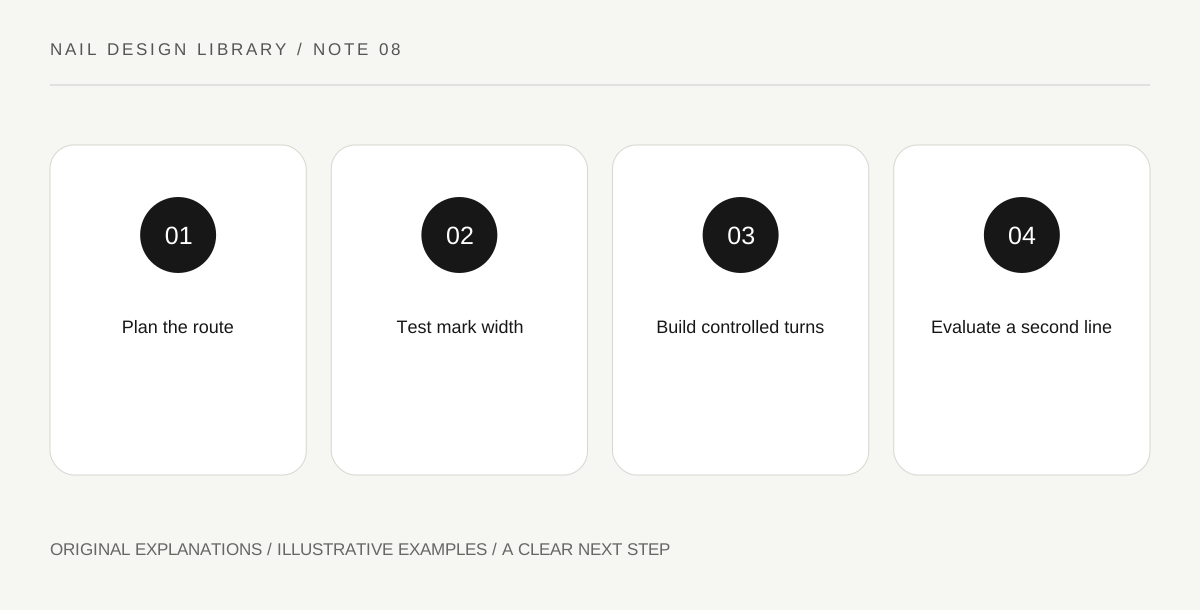
Original explanatory diagram. Read the full method and limitations below.
Draw the route as a single idea
On a nail-shaped outline, mark where the wave enters, bends and leaves. Compare one broad bend with several tight turns. A small surface can become crowded quickly, so begin with a route that remains understandable when the outline is reduced to actual size.
Choose whether the line follows a side, crosses the middle or forms an open loop. Those placements create different empty areas. Look at the spaces as shapes too. A curve that leaves no clear gap may read as a filled patch rather than a flowing line.
A line entering and leaving through different edges can feel continuous beyond the outline. A closed loop feels more contained. Compare those endings on paper before changing the painted curve itself.
Practise the brush’s mark width
Use a suitable detail brush with conventional lacquer on a practice swatch. Try a light consistent stroke, then a version with a deliberately wider section. Pressure, loading and brush angle can change width, so observe the actual mark rather than assume the tool alone determines it.
Keep the compatible base ready for detail work according to its instructions. A dragging surface makes it harder to distinguish a brush-control problem from a layer-readiness problem. Test one line at a time so you can see what changed.
Build turns without repeated overworking
A controlled turn may be easier in two connected sections than one dramatic sweep. Plan the join in a relatively quiet part of the route rather than at the tightest bend. Small joins can remain unobtrusive when the overall direction is clear.
If the line becomes uneven, decide whether the variation feels intentional. Repainting the whole curve to match its widest point can erase the empty area. A fresh attempt with less lacquer may be more informative than progressively thickening every section. The design can be expressive without requiring complete uniformity.
Add a companion line only with a purpose
A second line can echo the first at a chosen distance or cross it deliberately. Uneven gaps can create a different rhythm, but accidental touching may merge the forms. Decide the relationship before adding the line so you are not improvising around a nearly crowded surface.
For an exercise, compare one wave with a two-line version using the same main route. Keep colours and line widths controlled. View both at normal distance, then choose whether the additional line improves the movement you wanted. Finish only after checking that the compatible top coat preserves the dry curve.
Illustrative wave revision
A learner sketches three tight swirls but finds they merge on a small practice outline. They replace them with one broad side-to-side bend. A second thin line follows at a clear distance, leaving an open centre. The movement reads more strongly because the route is simpler, not because the learner added more curves or brighter colours.
Practical checks
Optional checkboxes save only in this browser.
Questions that come up
Must a wave be painted in one stroke?
No. Controlled sections can form a clear curve. Choose joins thoughtfully and practise the movement; a single uninterrupted sweep is not a requirement for a successful design.
Why do my waves look like blobs?
The turns may be too tight, the line too thick or the negative spaces too small. Simplify the route on a fresh swatch and change one of those variables at a time.
References and scope
These sources support the factual background. Examples and exercises are original illustrative teaching material. References do not imply endorsement.
- FDA: Nail care products — Cosmetic scope, following labels and warnings, ventilation, ignition risks and reactions.
- Essie: Mastering nail art — Conventional polish tools, controlled dots, stripes, sponge gradients and compatible finishing.
- Getty Museum: Principles of design — Spacing, repetition, emphasis and visual rhythm in original miniature compositions.
- Getty Museum: Elements of art — Line, shape, colour value and negative space.