Place a painted half-moon near the base without tracing skin
A half-moon motif creates a curved colour field near the base of the nail. Its size is a design choice rather than a requirement to follow the natural visible crescent. Plan a clear painted shape on the nail surface and compare how much of the main colour remains visible.
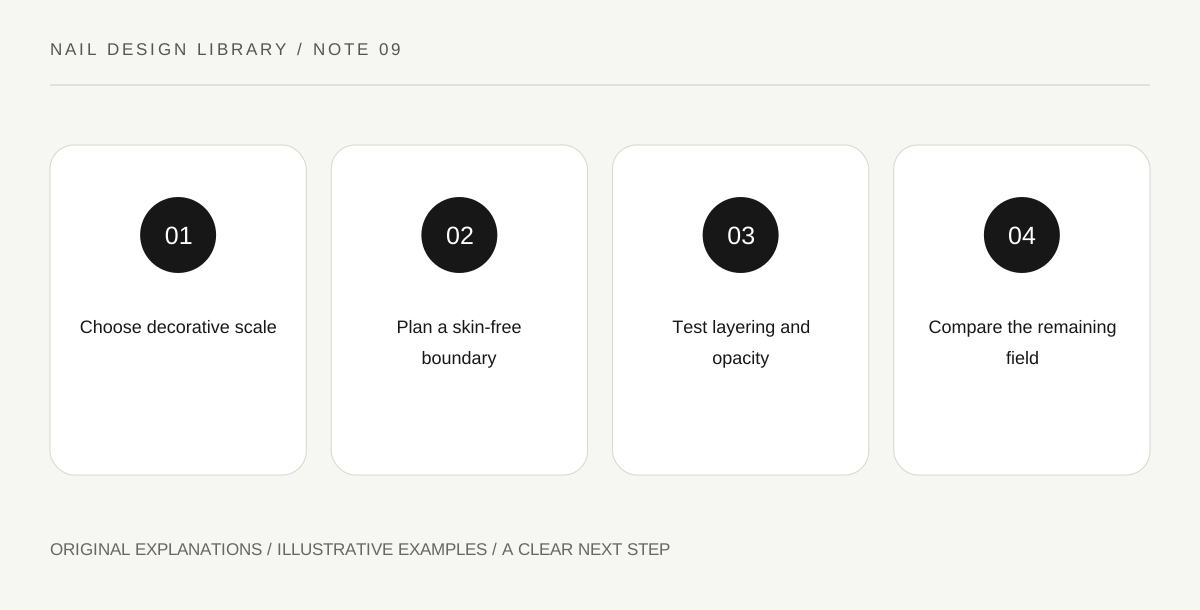
Original explanatory diagram. Read the full method and limitations below.
Separate the motif from natural anatomy
This lesson concerns a decorative painted crescent, not interpreting nail anatomy or health. The shape can be positioned according to the composition you want. Do not assume every person has the same visible natural crescent or needs to imitate one.
Draw a nail outline and compare a shallow crescent with a taller semicircle. A broad shape creates a strong second field; a narrow one acts as a small accent. Choose the amount of space each colour receives before selecting additional details.
Consider whether the crescent should align visually with another motif elsewhere or remain a single quiet accent. That decision concerns the painted composition, not a requirement to make natural nail features match.
Keep the boundary on the nail surface
Plan a small clear margin where appropriate and keep lacquer away from surrounding skin. A decorative design should not require cutting or altering the skin to make a curve easier. Use the products as labelled and practise the shape on a swatch first.
Choose a fine brush that can make the boundary with a controlled amount of conventional polish. A heavily loaded brush may flood the small area. Establish the curve lightly, then fill the intended field rather than repeatedly drawing a thicker and thicker outline.
Choose the order through a swatch test
You can explore painting a full base colour followed by the smaller half-moon field when the products are ready for layering. The top colour’s opacity determines whether the first remains visible. Test the combination instead of assuming a pale lacquer will cover a dark one in one pass.
A clear-looking half-moon is another visual direction, but it requires a different plan for preserving the empty area. Do not combine both processes halfway through an attempt. Decide whether the motif is a painted field or reserved space and practise that version consistently.
Compare the curve’s scale before repeating
The same nominal height can look different on different surfaces. Use the actual outline rather than copy one measurement everywhere. A set can share a visual proportion while allowing small placement changes so each curve remains readable and comfortable to paint.
For an exercise, make shallow and tall versions with the same two colours. Look at how much main field remains and whether the curve is clear from normal distance. Finish according to the compatible products’ directions and avoid treating top coat as a way to repair a flooded or overly thick painted area.
Illustrative crescent scale
A learner chooses a dark main colour with a pale painted half-moon. The first swatch’s tall semicircle occupies nearly half the outline. A shallower curve leaves the dark field dominant and suits the intended quiet design. They test the pale polish’s coverage on the swatch and keep the boundary within the nail area rather than trying to trace the surrounding skin.
Practical checks
Optional checkboxes save only in this browser.
Questions that come up
Must the motif match my natural crescent?
No. It is an illustrative decorative shape. Choose its placement and proportion for the design, without making assumptions about what a natural nail should look like.
Can one pale layer cover any dark base?
No. Opacity varies by product and colour. Test on a swatch and follow application instructions rather than build uncontrolled thickness to force coverage.
References and scope
These sources support the factual background. Examples and exercises are original illustrative teaching material. References do not imply endorsement.
- FDA: Nail care products — Cosmetic scope, following labels and warnings, ventilation, ignition risks and reactions.
- Essie: Mastering nail art — Conventional polish tools, controlled dots, stripes, sponge gradients and compatible finishing.
- Essie: Beginner nail art — Using regular nail polish, allowing layers to dry and adapting beginner designs.
- Getty Museum: Principles of design — Spacing, repetition, emphasis and visual rhythm in original miniature compositions.
- Getty Museum: Elements of art — Line, shape, colour value and negative space.