Place a small triangle cluster without making every point compete
Triangles bring strong directional points to a miniature composition. A cluster works when those directions and gaps are chosen rather than accidental. Start with one main triangle, add smaller companions and test whether filled shapes or outlines communicate the effect more clearly with your current brush control.
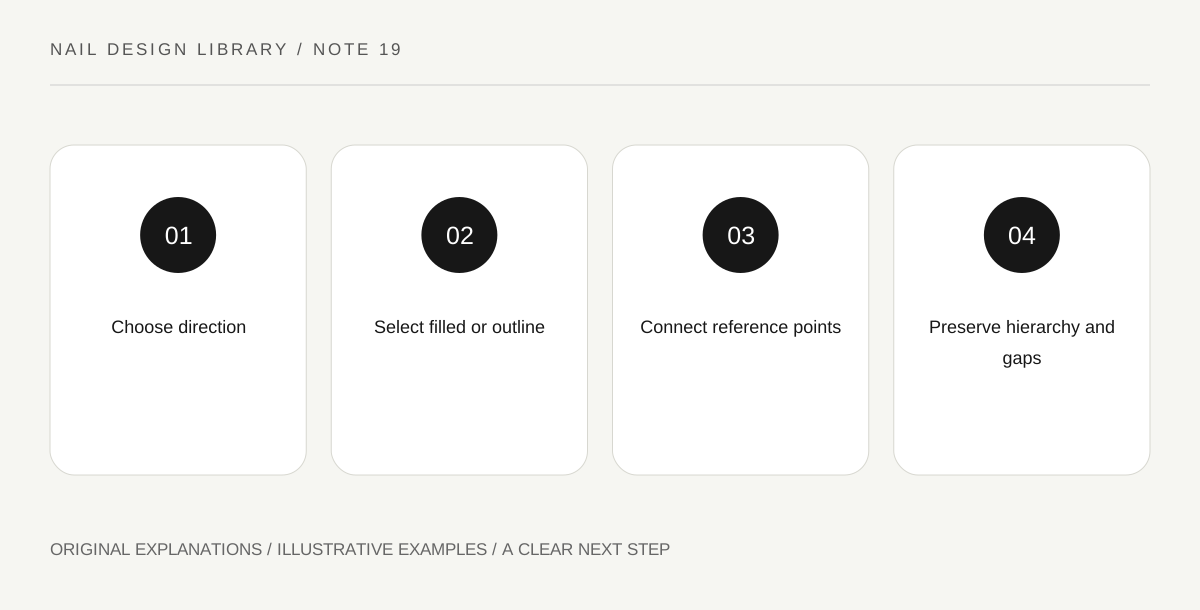
Original explanatory diagram. Read the full method and limitations below.
Choose direction before colour
Draw one triangle on a nail-shaped outline and rotate it in several versions. An upward point, a sideways point and a diagonal point lead the eye differently. Add a smaller triangle only after deciding where the first should direct attention.
The shapes do not need to be equal-sided. A long narrow triangle can act like an arrow, while a broader one feels more settled. Choose the actual shape you want rather than assume all triangles are interchangeable because they have three corners.
A small triangle can point toward the main shape without touching it. That directional relationship can connect the group while preserving separate silhouettes, which is useful when the available surface is narrow.
Decide between filled and outlined forms
A filled triangle creates a clear colour area but requires a controlled edge. An outline preserves more base space but adds three fine lines and intersections. Neither is automatically easier for every learner. Practise both on separate swatches and observe where your marks remain clearer.
Choose colours that keep the shapes distinct from the base and from each other. Two similar colours can create a quiet cluster, while strong contrast makes the points more graphic. Test the actual dried polish instead of relying on bottle appearance.
Build one triangle from reference points
Over a compatible base ready for detail work, mark three small reference points on a practice swatch if useful, then connect them with a suitable detail brush. Keep the marks light enough to become part of the shape rather than three large corner dots.
For a filled version, define the boundary and fill inward with controlled conventional lacquer strokes. Avoid repeatedly pushing polish toward a sharp point; a small taper can read clearly without needle-like precision. If an edge becomes thick, evaluate the complete shape before enlarging every side to match.
Give companion triangles a hierarchy
A smaller triangle can echo the main direction or deliberately oppose it. Keep a gap that remains visible at normal distance. If all points meet in one small area, the cluster can become a starburst or an accidental blob. That may be another design, but it differs from distinct triangles.
For an exercise, compare one large triangle with two small companions against three equal triangles. Keep the colour palette constant. Describe which has a clearer focal point and which feels more evenly repeated, then choose the effect you want before applying a compatible finish as instructed.
Illustrative triangle hierarchy
A learner paints three equal bright triangles with tips meeting in the centre. The shapes merge into a burst. A second swatch uses one larger triangle and two smaller ones with clear gaps, all pointing in a related direction. The cluster now feels directional and readable. The learner chooses filled forms because their outline intersections were harder to control.
Practical checks
Optional checkboxes save only in this browser.
Questions that come up
Must triangles be mathematically exact?
No. A recognizable three-sided shape and intentional direction can be enough. Keep edges controlled, but avoid thickening the design indefinitely to force perfect angles.
Why does my cluster look like a star?
The points may meet or overlap too centrally. Separate the shapes, change their scale or direct them differently on the next swatch so the intended triangles remain distinct.
References and scope
These sources support the factual background. Examples and exercises are original illustrative teaching material. References do not imply endorsement.
- FDA: Nail care products — Cosmetic scope, following labels and warnings, ventilation, ignition risks and reactions.
- Essie: Mastering nail art — Conventional polish tools, controlled dots, stripes, sponge gradients and compatible finishing.
- Getty Museum: Principles of design — Spacing, repetition, emphasis and visual rhythm in original miniature compositions.
- Getty Museum: Elements of art — Line, shape, colour value and negative space.