Create a diagonal two-colour split with a clear angle
A diagonal split turns one nail into two colour fields. Its effect depends on the angle, the relative areas and the contrast between the colours. Plan those relationships on an outline first, then practise a controlled boundary without assuming a perfectly straight line is the only successful result.
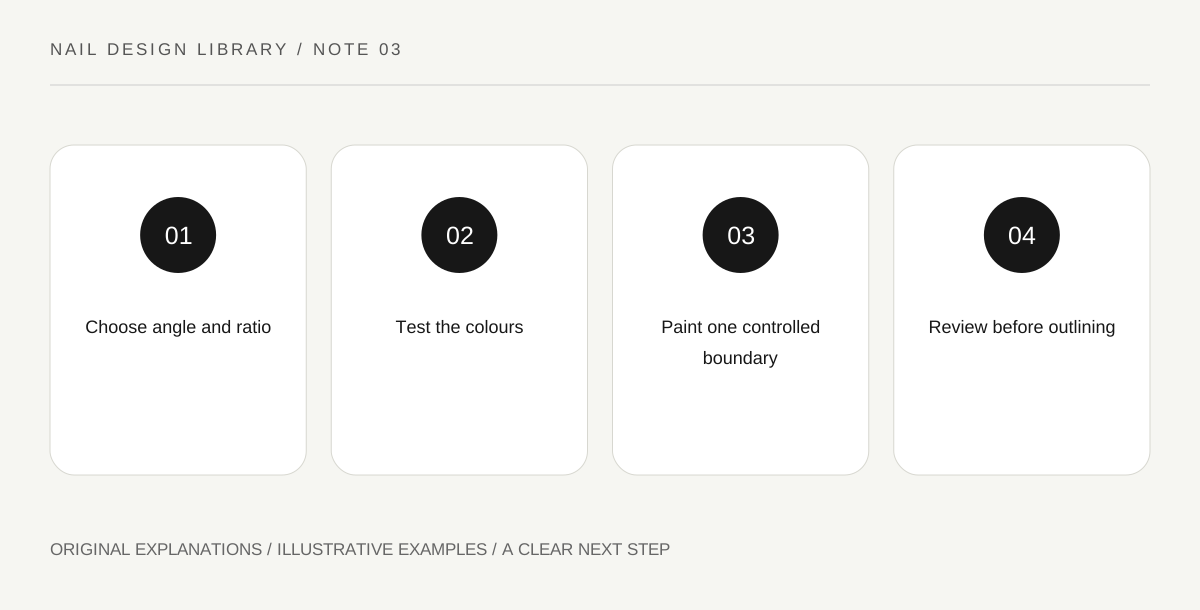
Original explanatory diagram. Read the full method and limitations below.
Choose the angle and area ratio
Draw a diagonal from one side of a nail outline to the other. Compare a line near the tip with one passing through the middle. The first leaves one colour dominant; the second gives the fields more equal weight. Decide which effect you want before choosing decorative additions.
Keep the actual surface in mind. A diagonal that looks generous on a large drawing may create a tiny sliver on a short nail. Simplify the angle if necessary. The design does not need to imitate a photograph made on a different length or shape.
Select colours by their relationship
Two strongly different values make the boundary graphic. Two nearby values create a quieter colour change. Hue names alone cannot predict the result: two colours called pastel can still differ greatly in brightness or opacity. Test the dried pair on a practice swatch.
Choose the base colour according to the coverage you want and follow its instructions. A transparent polish over another colour may produce a third effect instead of the separate field you imagined. That can be useful, but it should be a deliberate choice rather than an unexplained surprise.
Practise the boundary as one controlled movement
On a swatch, use a suitable detail brush to mark the diagonal lightly, then fill the intended side with controlled strokes. Keep the brush on the planned surface and avoid flooding surrounding skin when working on natural nails. A guide can be explored only if appropriate to the products and fully dry base.
Do not keep repainting the line while it begins to drag. Stop, let the process reach an appropriate stage and evaluate the result. A slightly soft boundary may be preferable to a raised ridge produced by repeated correction. If necessary, restart the practice swatch with a simpler angle.
Decide whether the split needs an outline
A thin third-colour line can emphasize the boundary, but it also adds another precision task. Compare the unoutlined version first. If the two fields already read clearly, an extra stripe may be unnecessary. The basic geometry should remain understandable without decorative rescue.
For an exercise, create two equal-sized outlines with different area ratios using the same colours. View them from ordinary hand distance and choose which field should lead. Finish according to the compatible products’ instructions and keep the result as a reference for angle and coverage, not a guaranteed wear-duration claim.
Illustrative diagonal balance
A learner tries a pale-blue base with a dark-blue diagonal field. A central split feels too divided for the intended quiet design, so the next swatch places the diagonal nearer the tip. The dark area becomes an accent. They omit an outline because the value contrast already makes the edge readable, reducing both visual density and the number of difficult strokes.
Practical checks
Optional checkboxes save only in this browser.
Questions that come up
Must the split divide the nail exactly in half?
No. Unequal areas can create a clear emphasis. Choose the ratio you enjoy and keep it intentional across the design rather than treat equality as a requirement.
Can tape guarantee a perfect edge?
No. Base readiness, adhesion, lacquer behavior and removal all affect the result. Follow relevant product guidance and practise on a swatch; a tool does not remove the need to check compatibility.
References and scope
These sources support the factual background. Examples and exercises are original illustrative teaching material. References do not imply endorsement.
- FDA: Nail care products — Cosmetic scope, following labels and warnings, ventilation, ignition risks and reactions.
- Essie: Mastering nail art — Conventional polish tools, controlled dots, stripes, sponge gradients and compatible finishing.
- Getty Museum: Principles of design — Spacing, repetition, emphasis and visual rhythm in original miniature compositions.
- Getty Museum: Elements of art — Line, shape, colour value and negative space.
- OPI: Conventional nail-lacquer application example — Manufacturer example of base coat, thin colour layers and compatible top coat; no adoption of wear-duration claims.