Paint a leaf sprig with a clear stem and alternating shapes
A leaf sprig can be built from a fine stem and a few small tapered marks. The design works when the stem remains visible and the leaves have room to turn. Practise the direction of each part before adding another sprig or trying to represent a specific plant.
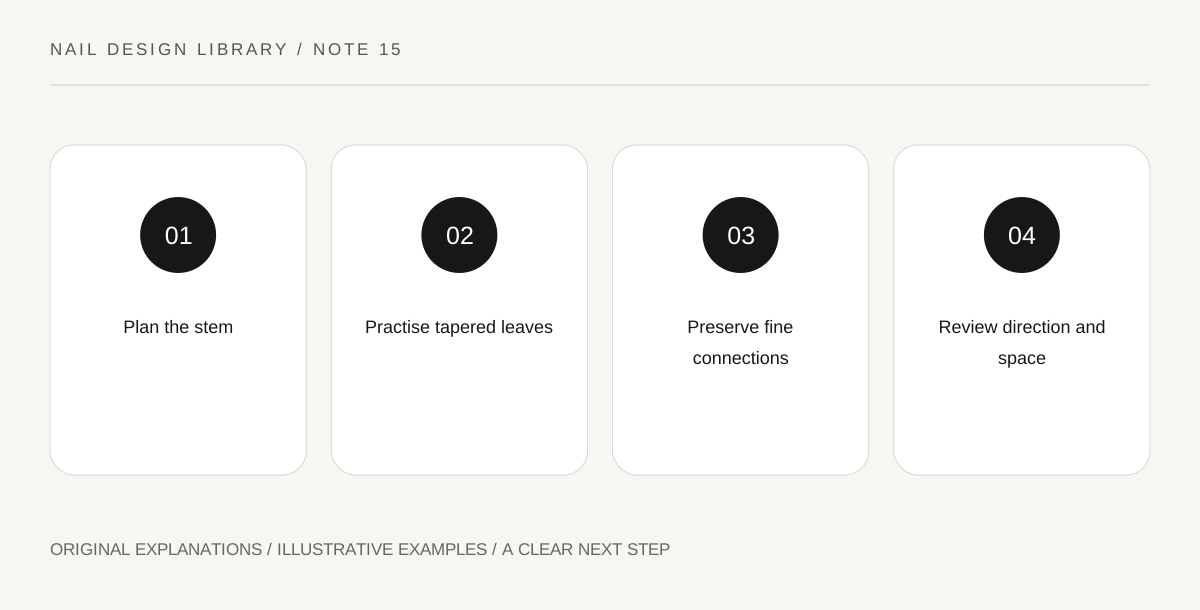
Original explanatory diagram. Read the full method and limitations below.
Choose a stem route
Draw a gently curving stem on a nail outline. Decide whether it runs up one side, through the centre or diagonally across. A short simple route leaves more space for leaves than a tightly winding one. The design here is botanical-inspired, not a plant identification guide.
Mark a few leaf positions with small gaps. Alternating them can create movement, while paired leaves create a more ordered rhythm. Choose one arrangement first. You do not need to fill the full stem length with leaves if a few marks communicate the idea clearly.
Practise a tapered leaf mark
A leaf can be represented by a short oval ending in a point. On a practice swatch, explore a controlled brush stroke or two small strokes that meet. Use conventional lacquer and a suitable detail brush. The exact mark depends on loading and pressure, so test before painting the final arrangement.
Make several leaves separately before connecting them to a stem. Notice whether the point remains visible or the mark becomes a round dot. Change the movement or reduce loading rather than repeatedly dragging a thick spot into shape. Small clear marks teach more than an increasingly heavy correction.
Keep the stem subordinate but legible
The stem should be finer than the main leaf width so the parts remain distinct. Over a compatible base ready for detail, paint the route and add leaves in the planned order. Leave a small visible connection rather than cover the stem completely with every mark.
Turn each leaf slightly according to its position. Identical horizontal leaves can make the sprig feel like a ladder, which may be a deliberate geometric variant but differs from the organic effect here. Use the sketch to keep direction varied without improvising every angle under pressure.
Choose contrast and finishing carefully
A dark sprig on a pale base is graphic; similar colours create a quieter texture. The leaves must still be visible at normal distance. If they disappear, test a new contrast before adding more foliage. Increasing the number of marks does not solve a visibility problem.
For an exercise, compare one side sprig with two crossing sprigs on equal practice outlines. Keep leaf size constant and observe the remaining space. Choose the version whose stem and leaves remain readable, then finish as the compatible products direct. No plant-like motif requires a claim about natural ingredients or nail-health benefits.
Illustrative sprig revision
A learner draws a central stem and adds leaves directly opposite each other at equal angles. The result feels ladder-like. On the next swatch, the stem curves gently and a few leaves alternate with different tilts. They keep the same colour and count, learning that direction rather than extra detail changed the character.
Practical checks
Optional checkboxes save only in this browser.
Questions that come up
Must the sprig depict a real plant?
No. This is an original botanical-inspired shorthand. If you name a specific plant, study its actual structure rather than assume every leaf arrangement represents it accurately.
Why does my sprig look like a ladder?
The leaves may be identical, paired and horizontal. Try alternating a few positions or changing their tilt while preserving a clear stem. Compare on a swatch before adding more marks.
References and scope
These sources support the factual background. Examples and exercises are original illustrative teaching material. References do not imply endorsement.
- FDA: Nail care products — Cosmetic scope, following labels and warnings, ventilation, ignition risks and reactions.
- Essie: Mastering nail art — Conventional polish tools, controlled dots, stripes, sponge gradients and compatible finishing.
- Essie: Floral nail-art ideas — Manufacturer examples of floral motifs with ordinary cosmetic polish.
- Getty Museum: Principles of design — Spacing, repetition, emphasis and visual rhythm in original miniature compositions.
- Getty Museum: Elements of art — Line, shape, colour value and negative space.