Paint a polka-dot grid by planning the gaps first
An orderly dot design depends as much on the empty gaps as on the dots themselves. Practise a small grid with conventional nail polish before covering a whole set. Choose a dot size you can repeat, map the centre line and allow the pattern to remain simple enough to read.
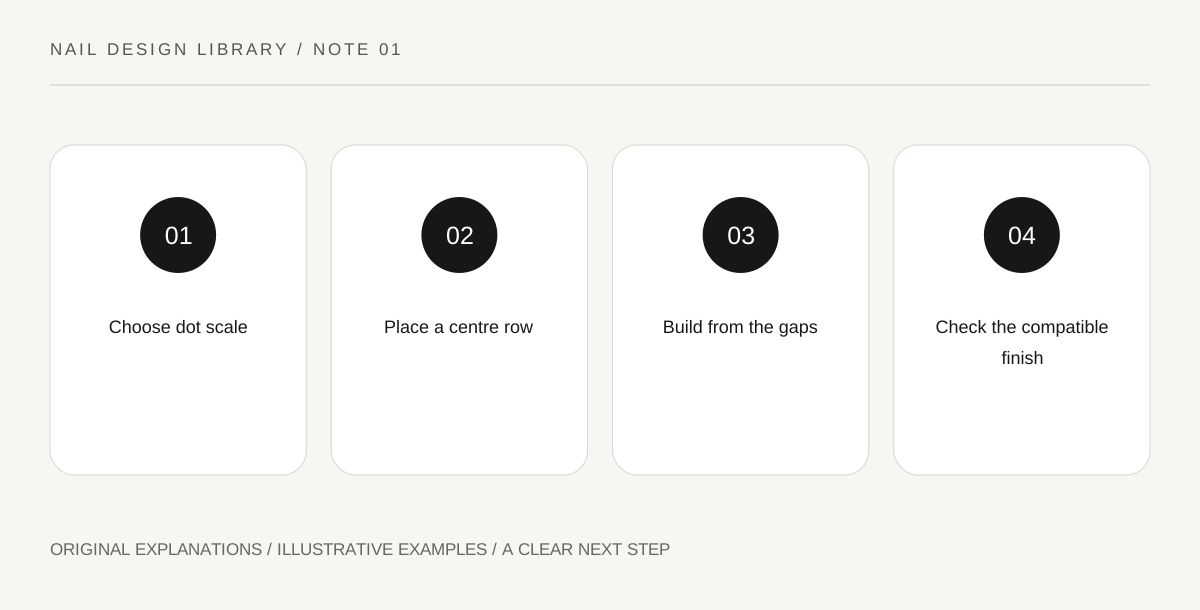
Original explanatory diagram. Read the full method and limitations below.
Choose the pattern’s scale
Sketch a nail-shaped outline and place a few circles inside it. Compare large dots with wide gaps against small dots with narrow gaps. The number of dots should follow the available surface rather than a fixed count copied from a longer nail. A partial row near an edge can still feel intentional.
Choose two polish colours with enough contrast for the effect you want. Strong contrast makes small placement differences obvious; a quieter pair can read more like texture. Test the actual dried colours on a practice swatch because the bottle colour does not show how the layers interact.
Establish a centre line
After applying a suitable base according to the product instructions and allowing the colour to dry, begin with a central row of dots. Place the middle dot first, then work above and below. This gives the spacing a reference instead of letting each new mark drift farther from the original plan.
Use a clean rounded dotting tool intended for nail art and a small amount of lacquer. Practise a light touch and lift vertically. A heavily loaded tool can create a mound or a spreading mark. The useful target is a controlled spot, not a large amount of product.
Build side rows from the gaps
For a square grid, align the side dots with the central row. For an offset pattern, place them halfway between the central dots. Those are different rhythms, so decide which you want before starting. You can practise both on paper outlines with a pen before using polish.
Check the empty distance between marks rather than only comparing the dots. If one gap becomes narrow, adjust the remaining pattern on the swatch instead of repeatedly enlarging nearby dots. A small local imperfection often remains less noticeable than a chain of corrections that changes the whole scale.
Finish without dragging the marks
Allow the decorative layer to dry as the products require before applying a compatible finish. Use the product’s directions rather than a universal waiting time. If a test finish drags a dot into a streak, the process needs adjustment before you repeat it across more nails.
For a practice exercise, make one three-row square grid and one offset grid at the same dot size. View them from ordinary hand distance. Note which spacing remains clear and which feels too crowded. Record the pattern you prefer, not a claim that every dot must be mathematically identical.
Illustrative grid revision
A learner plans four dots across a short practice outline but finds that the gaps disappear. They reduce the design to three columns and keep the dot size unchanged. A central row establishes spacing, and side dots align with it. The result reads as a clear grid from normal distance, showing that fewer marks solved the composition more effectively than trying to make each dot smaller.
Practical checks
Optional checkboxes save only in this browser.
Questions that come up
Must every dot be exactly identical?
No. A repeated scale and clear spacing usually matter more than tiny differences. Practise control, but avoid enlarging every mark to repair one imperfect dot and accidentally crowding the whole design.
Can I use craft paint instead of nail polish?
Use products intended for the application and follow their labels. This lesson concerns conventional cosmetic nail lacquer, not an assumption that unrelated art materials are suitable for use on nails or skin.
References and scope
These sources support the factual background. Examples and exercises are original illustrative teaching material. References do not imply endorsement.
- FDA: Nail care products — Cosmetic scope, following labels and warnings, ventilation, ignition risks and reactions.
- Essie: Mastering nail art — Conventional polish tools, controlled dots, stripes, sponge gradients and compatible finishing.
- Essie: Beginner nail art — Using regular nail polish, allowing layers to dry and adapting beginner designs.
- Getty Museum: Principles of design — Spacing, repetition, emphasis and visual rhythm in original miniature compositions.
- Getty Museum: Elements of art — Line, shape, colour value and negative space.